Unleashing Creativity: A Guide to Painting Terracotta Pots
Terracotta pots are a classic and functional choice for housing plants, but they don’t have to be plain or dull. With a bit of creativity, they can become beautiful art pieces that reflect your personal style and enhance your home or garden decor. In this blog post, I’ll walk you through my journey of painting terracotta pots, using Craft Smart Paint from Michaels, and adding metallic touches with acrylic paint. Whether you’re a seasoned crafter or a beginner, these ideas will inspire you to transform your terracotta pots into unique works of art.
Why Paint Terracotta Pots?
Terracotta pots are naturally porous, which makes them great for plants, but they can also be a blank canvas for your artistic expression. Painting them not only adds a decorative touch but also seals the surface, helping to retain moisture in the soil and protecting the pot from the elements. By painting your terracotta pots, you can customize them to match your interior decor garden theme or simply reflect your mood and personality.
Gathering Your Supplies
Before you start painting, gathering all the necessary supplies is important. Here’s what I used for my project:
- Terracotta Pots: Available in various sizes at any garden center or craft store.
- Craft Paint: I got Craft Smart Paint from Michaels. This paint offers a wide range of vibrant colors, perfect for any design you have in mind.
- Acrylic Paint for Metallic Touches: I used this to add a bit of shimmer and elegance to my designs.
- Paintbrushes: A variety of sizes, from fine tips for detailed work to broader brushes for larger areas.
- Sealant (Optional): This protects your finished design and ensures its longevity, especially if the pot will be exposed to the elements.
- Painter’s Tape(optional): Useful for creating clean lines and geometric patterns.
Prepping Your Pots
Before you dive into painting, it’s essential to prep your terracotta pots to ensure the paint adheres well and lasts a long time.
- Clean the Pots: Use a damp cloth to remove dirt or dust. If your pots are brand new, give them a quick rinse and let them dry completely.
- Sand Rough Edges: If your pots have any rough or uneven edges, gently sand them down to create a smooth surface.
- Seal the Inside (Optional): If you plan to use the pots for live plants, consider sealing the inside with a clear, waterproof sealant. This helps prevent water from seeping through the pot and damaging your paint job. (I didn’t do this because I always keep my plants in removable plastic containers)
Exploring Design Ideas
One of the joys of painting terracotta pots is the freedom to experiment with different designs. Here are some of the designs I tried:
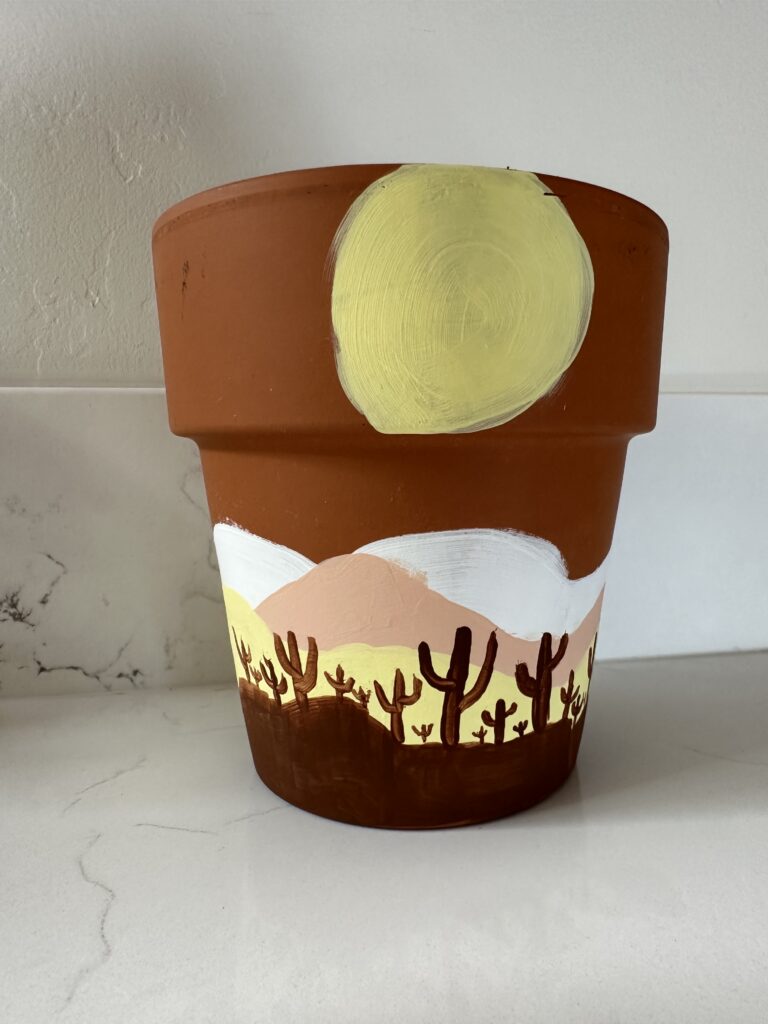
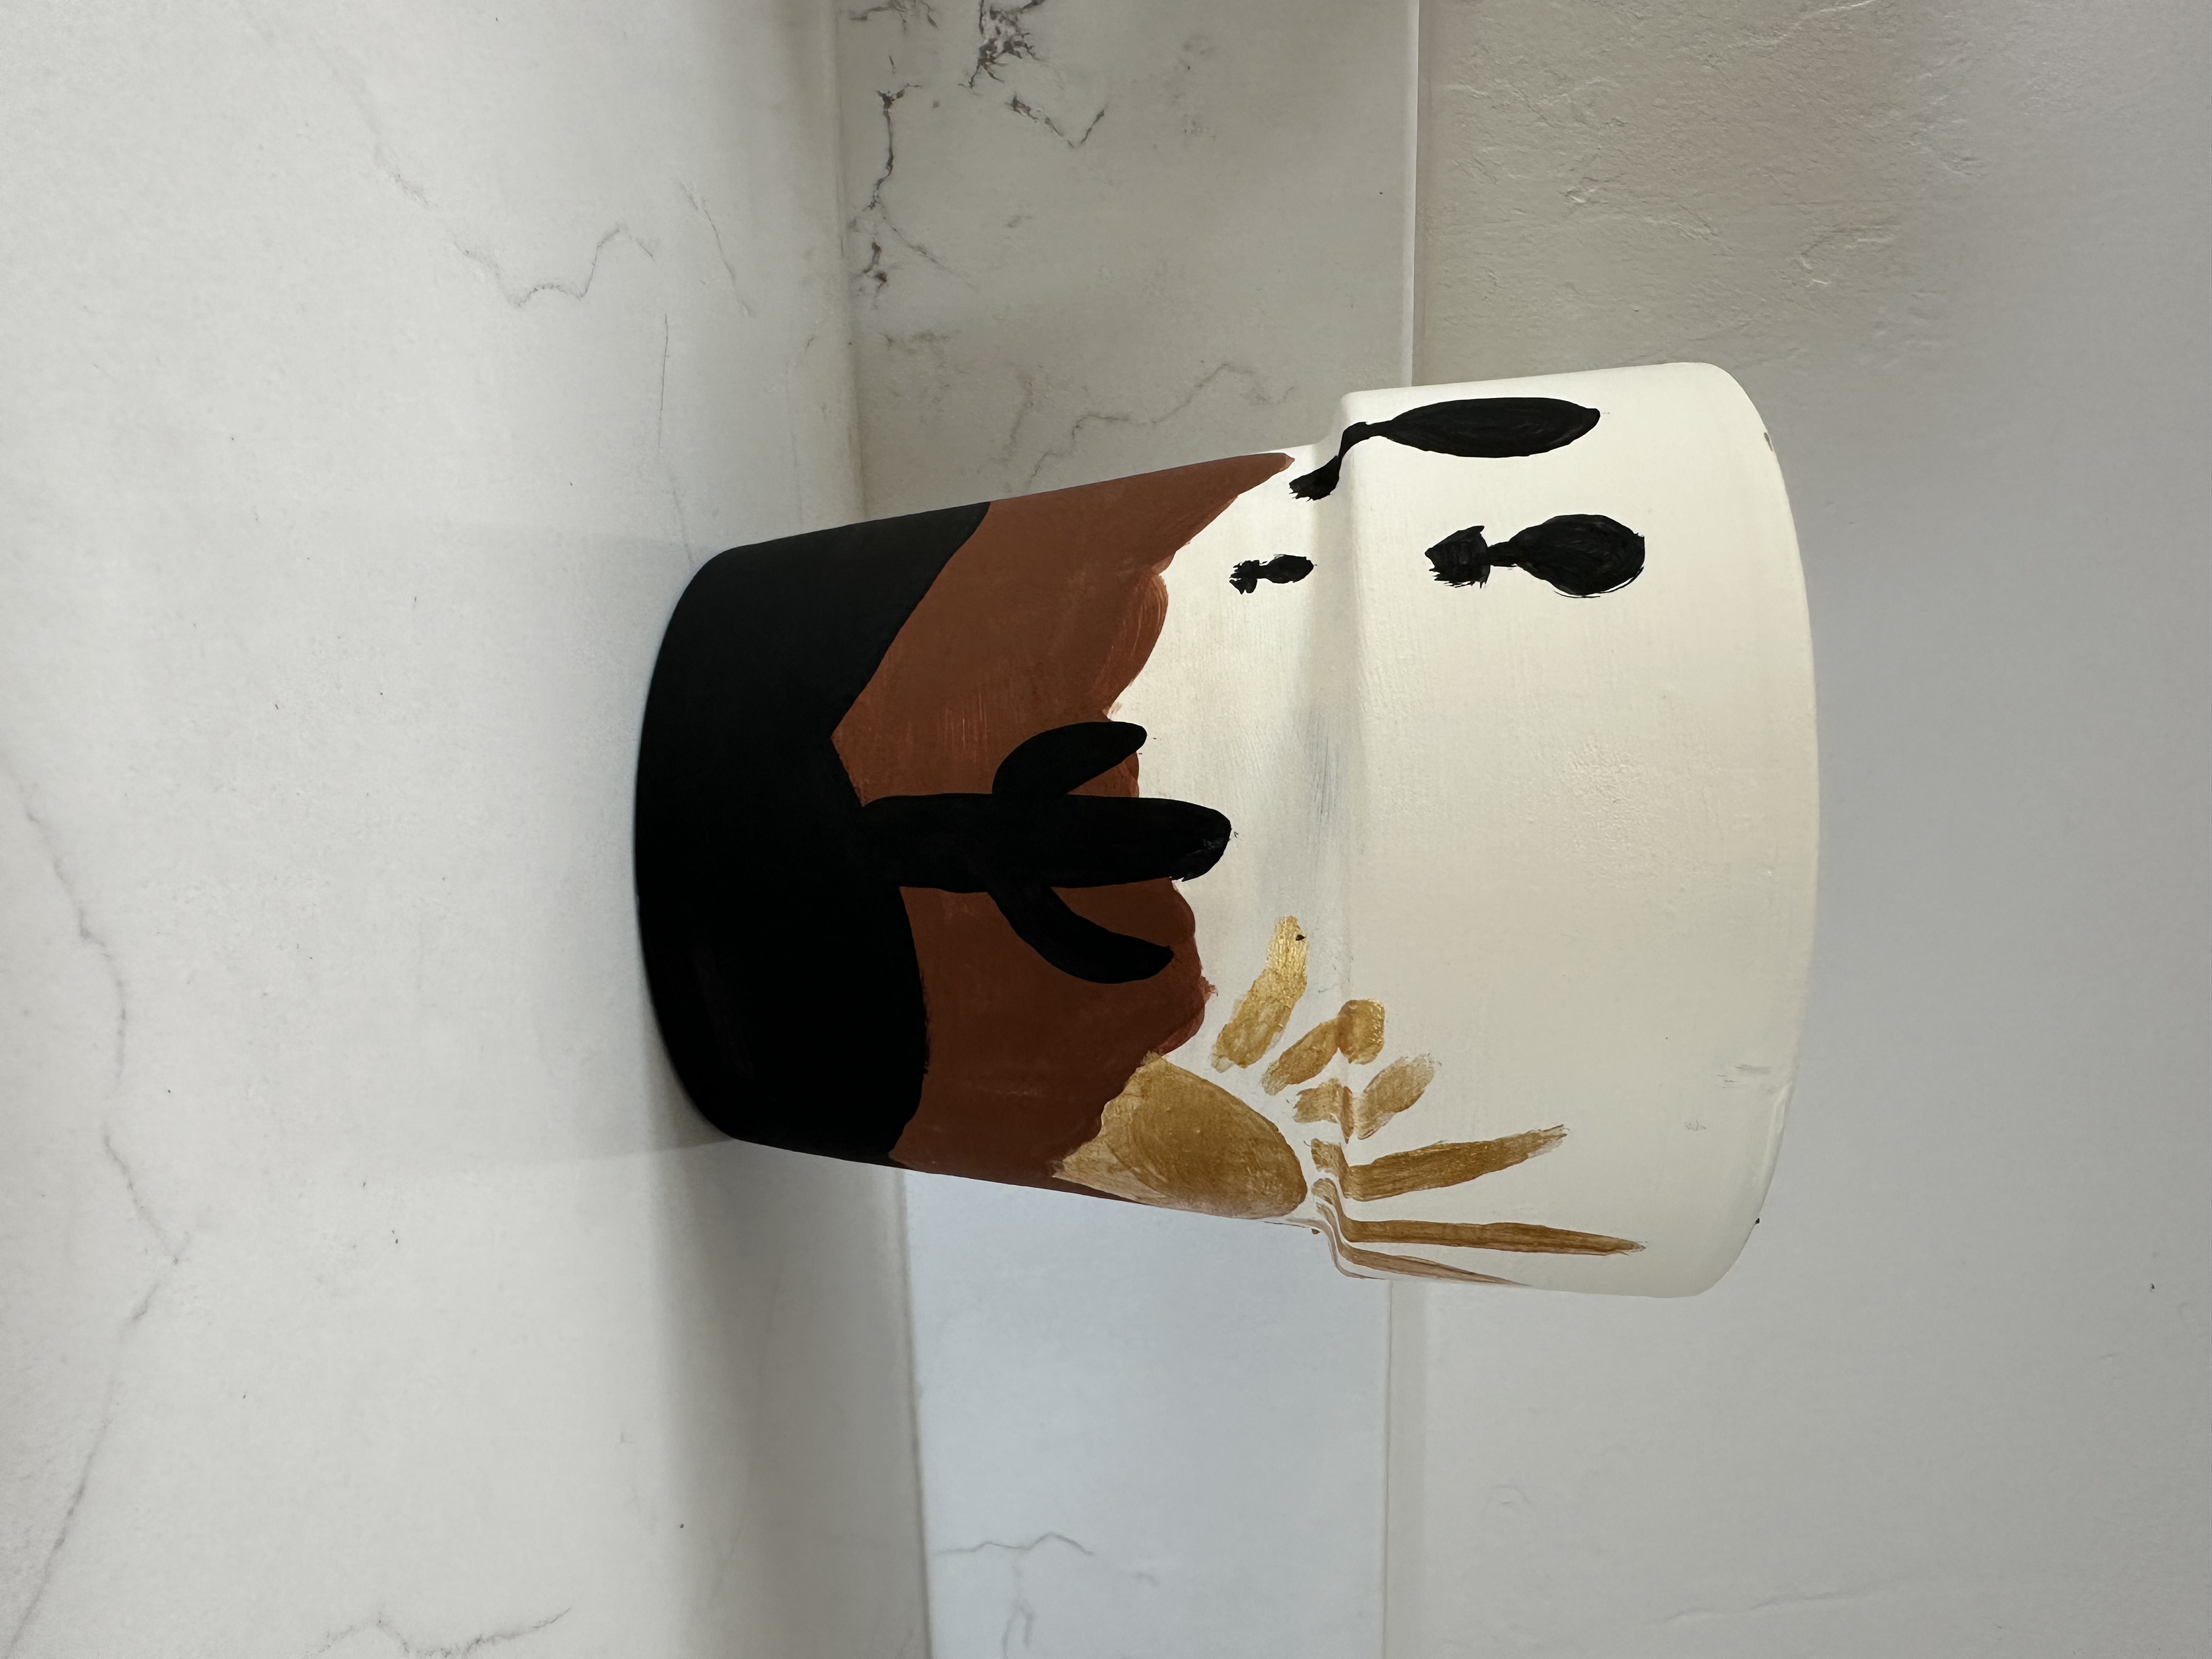
- Mountain Scenes: I painted a few pots with mountain landscapes, some with bright sun and others with just the peaks. To create this look, I started by painting the base color of the pot, usually sky blue or deep green, but I left one to be the natural terracotta color and the other I did white, and then added layers to create the mountains. I used a warm yellow and gold for the sun, blending it into the sky for a sunrise or sunset effect. The mountains were painted in various shades of white, brown, yellow, black, and light pink.
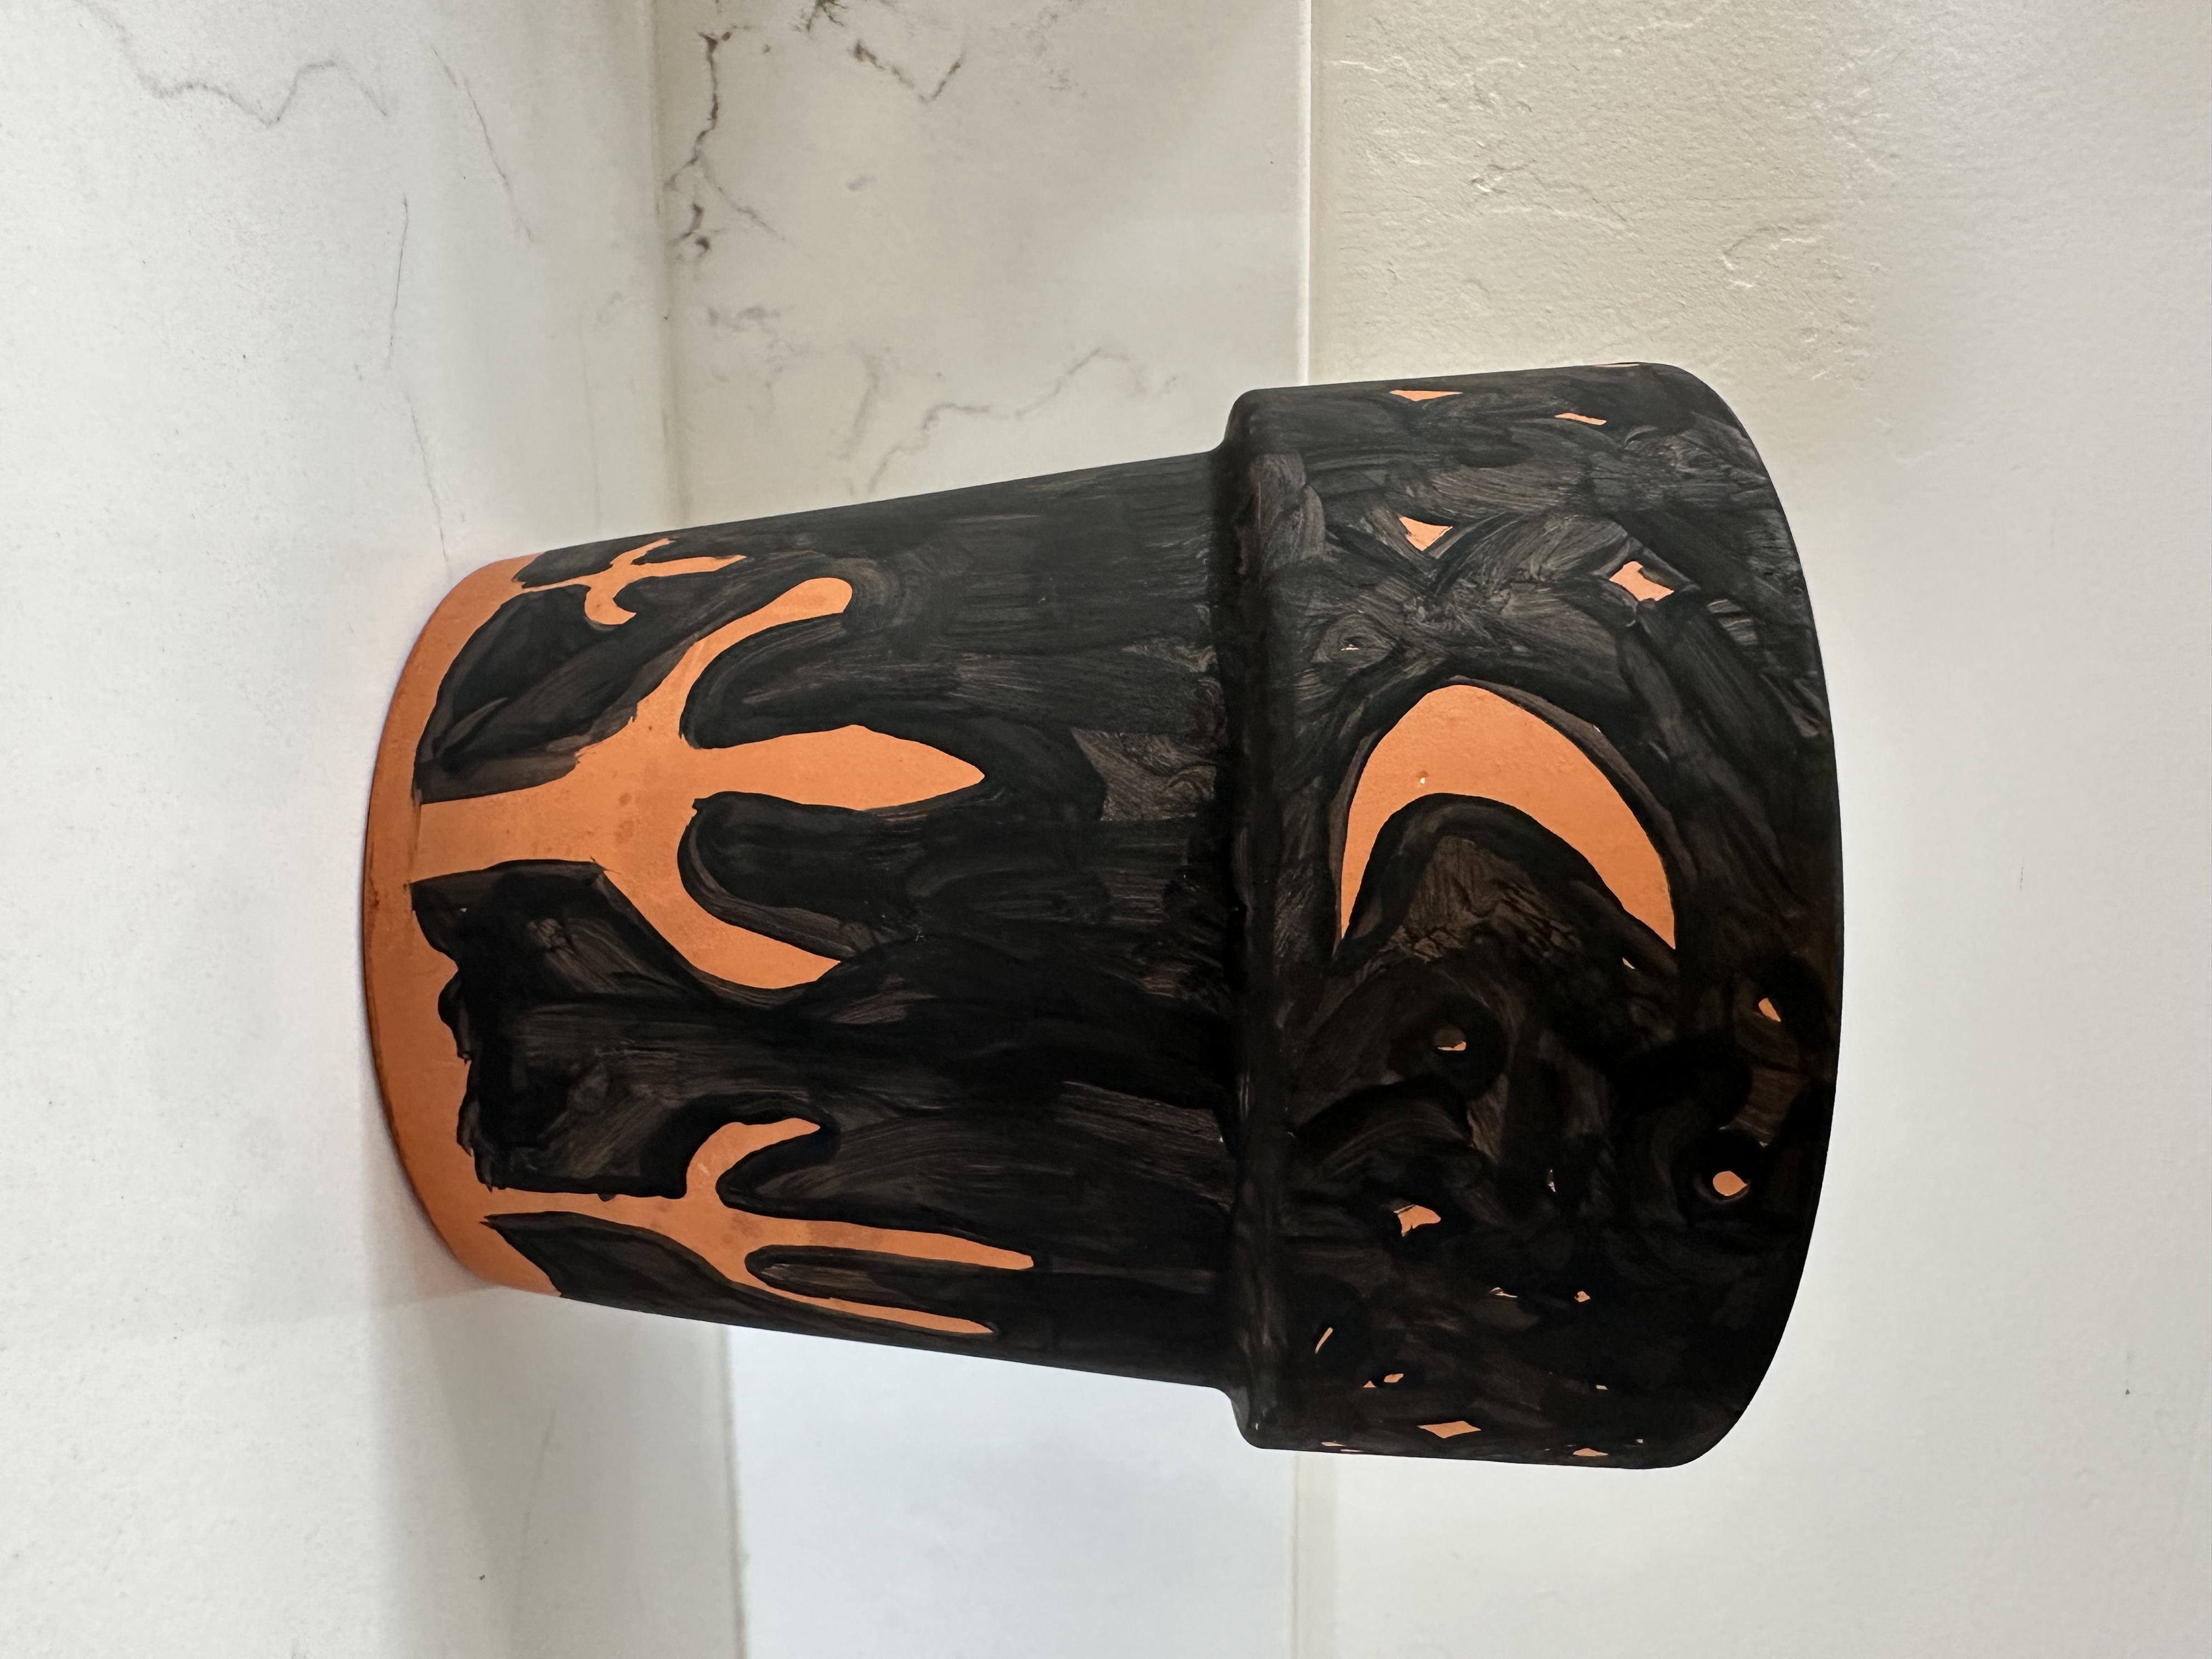
- Cacti: Living in Arizona has given me a deep appreciation for cacti, so I couldn’t resist incorporating them into my designs. I decided to do a dark desert night with just a croissant moon and some stars in the sky. First, carefully draw out the scene you want to have. I had some saguaro cactus and a barrel cactus; the bottom was sand, and the sky had stars and a moon. Then, fill in the empty space with black, and that will leave the beautiful terracotta color to shine through as the design.
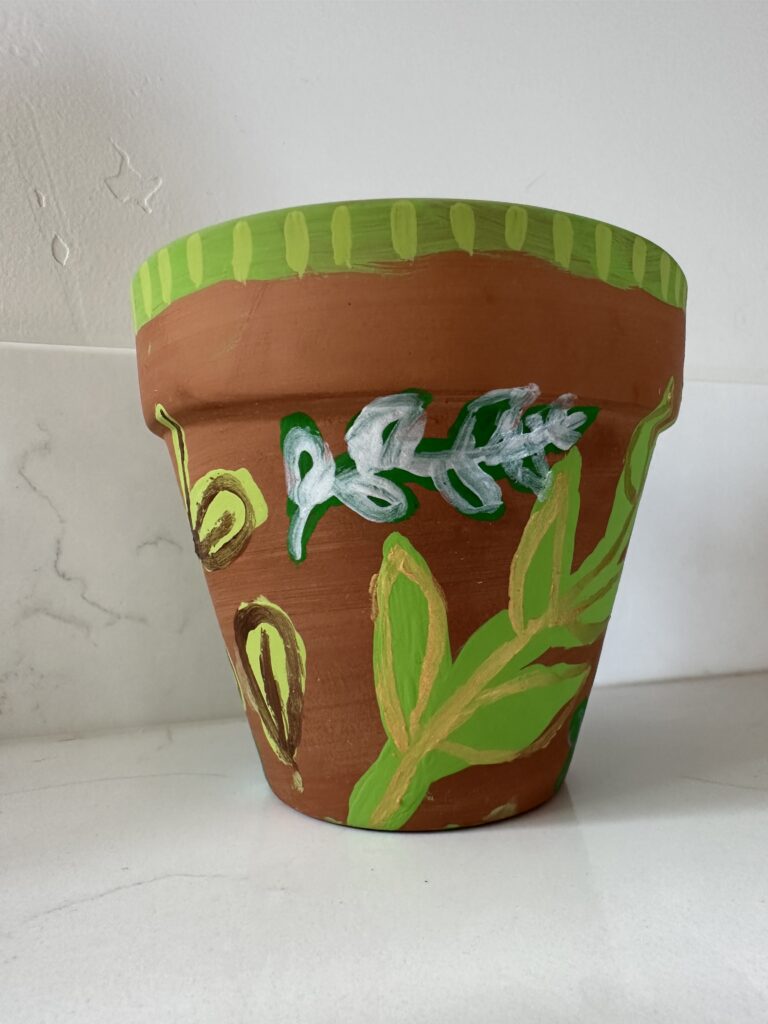
- Plant Leaves: I painted various plant leaves for a more botanical theme. I used a combination of greens and metallics to create depth and texture, layering the leaves to give the impression of a lush jungle. This design works well on pots of all sizes and can be as simple or complex as you like.
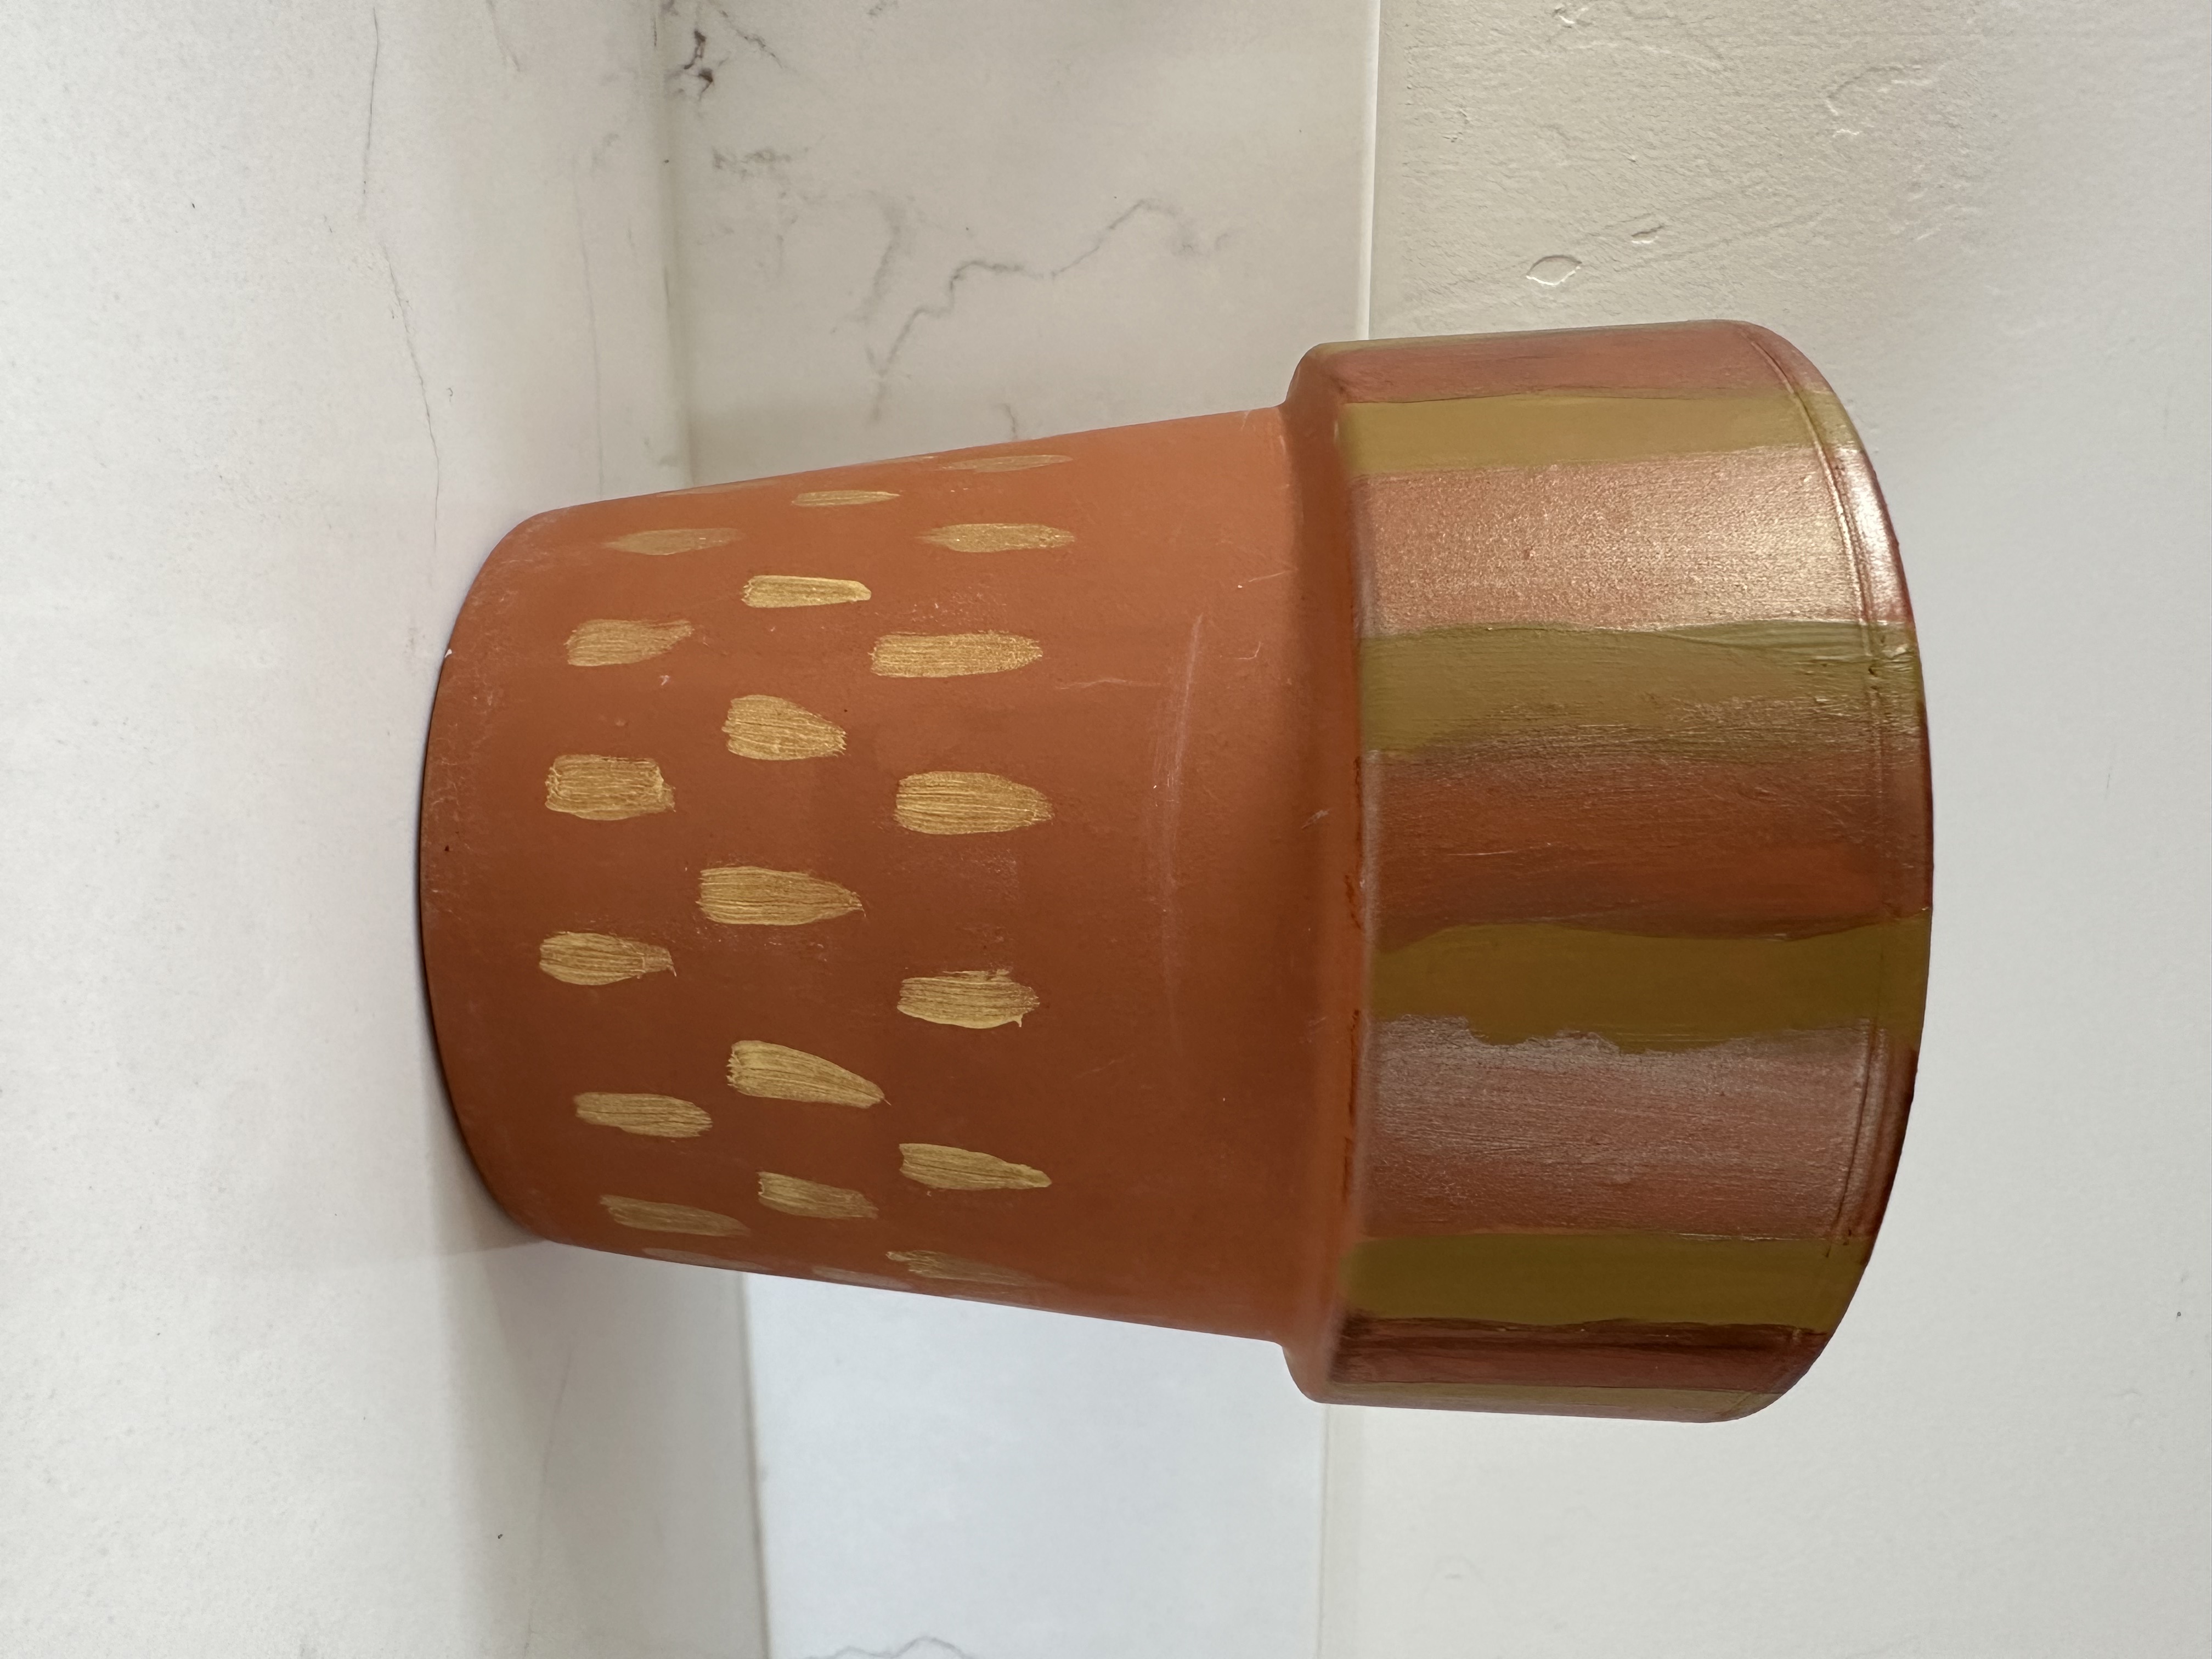
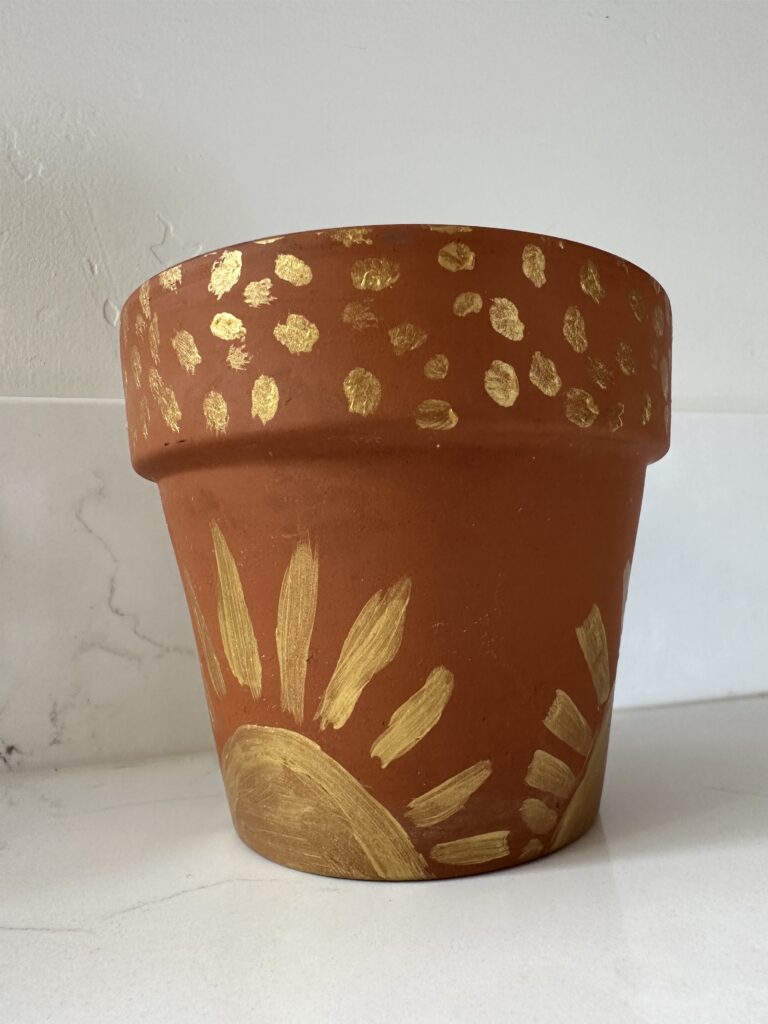
- Patterns: If you’re looking for something more modern, patterns are a great choice. I created dashes, wrapping around the pot in metallic gold. Then, on the top, I did an alternating pattern of different bronze tones. I also made a pot of golden suns around the bottom of the pot and put polka dots on the top.
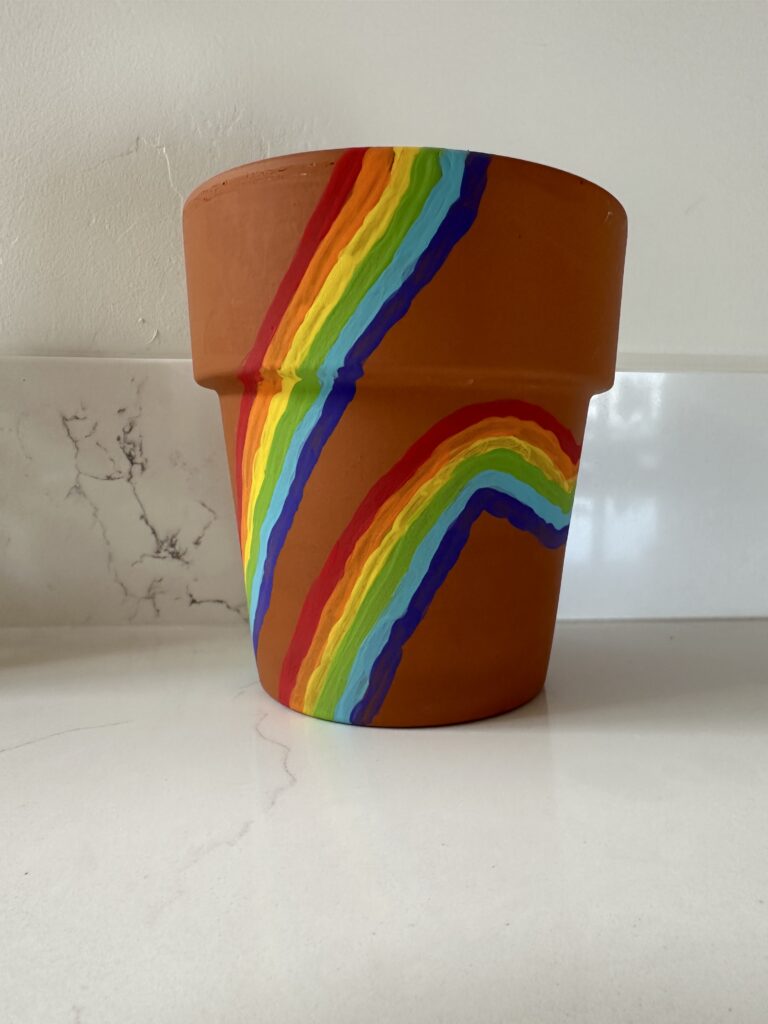
- Full Coverage vs. Minimalist Touches: Not every pot needs to be fully painted. Sometimes, a minimalist touch can be just as effective. I painted only a small section on some pots, such as the rim or a single stripe around the middle. This creates a subtle yet elegant effect, allowing the natural terracotta color to shine through. I went all out on others, covering the entire surface with intricate designs and colors. On one, I made a long, squiggly line that was a rainbow.
Techniques for a Professional Finish
To achieve a polished and professional finish, there are a few techniques to keep in mind:
- Layering: Start with a base coat and let it dry completely before adding additional layers. This helps prevent the colors from blending together and creates a more vibrant, dimensional look.
- Blending: For landscapes or ombre effects, blend the colors while they’re still wet. This technique works well for creating smooth transitions between shades, such as from sky to mountains or from one leaf to another.
- Detailing: Use fine-tipped brushes for detailed work, such as painting the spines on a cactus or the veins on a leaf. Patience is key here, as these small details can really elevate your design.
- Metallic Accents: Metallic paint can add a touch of luxury to your pots. Using it sparingly, such as for highlights or small details, creates a striking contrast with the matte finish of the Craft Smart Paint.
- Sealing: Once your design is complete and fully dry, consider applying a clear sealant to protect your artwork. This is especially important if your pots will be placed outdoors or in a humid environment. The sealant will also give the pots a glossy finish, enhancing the colors and details.
Final Thoughts
Painting terracotta pots is not only a fun and relaxing activity but also an excellent way to express your creativity and personalize your home or garden. Whether you’re drawn to natural landscapes, botanical designs, or modern patterns, there’s no limit to what you can create. The process itself is rewarding, and the finished products make for beautiful, functional decor that you’ll be proud to display.
So, grab your paintbrushes and let your imagination run wild. With a bit of paint and creativity, you can transform ordinary terracotta pots into stunning pieces of art that brighten up any space. Happy painting!


